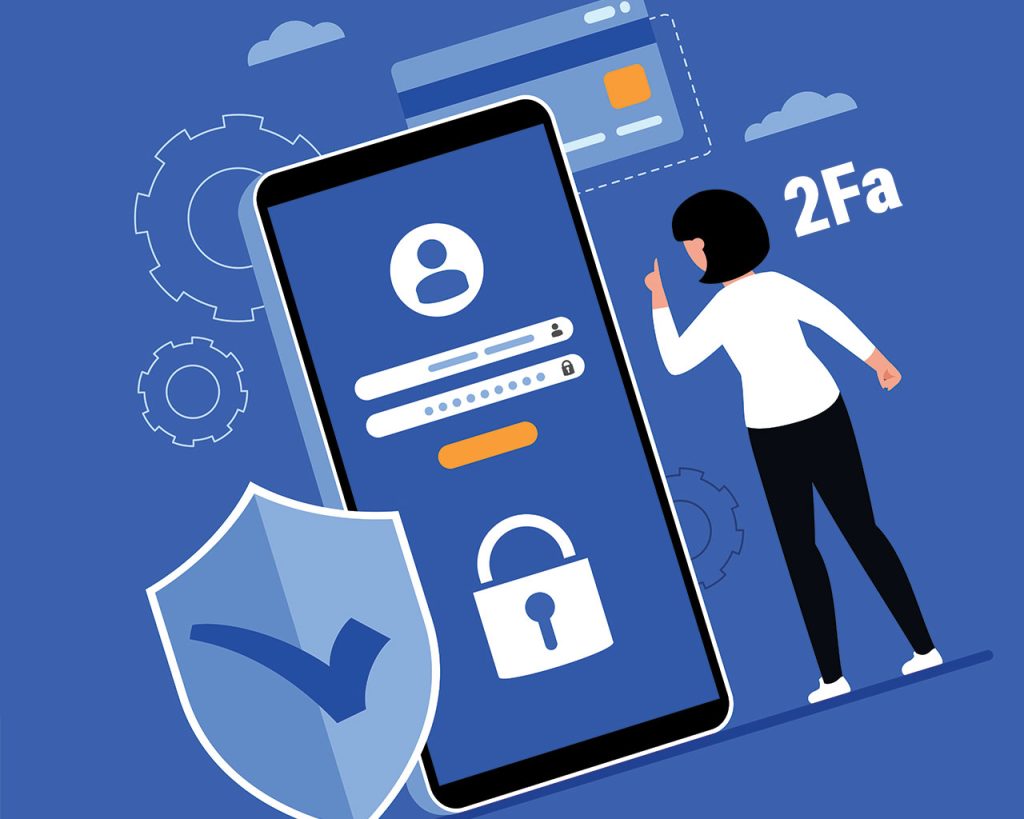
Passwords alone are no longer enough to secure user accounts. Data breaches, phishing, and reused passwords make applications vulnerable. That’s why more and more modern apps use Two-Factor Authentication (2FA) to protect logins. In this article, we’ll explore what 2FA is, why you should add it, and how to implement Two-Factor Authentication in Laravel 12 step by step.
By the end, you’ll have a working system where users log in with their email and password, then confirm their identity using a 6-digit code from an app like Google Authenticator or Authy. This guide is beginner-friendly and packed with explanations so you understand not just the code, but also the concepts behind 2FA.
1 – What is Two-Factor Authentication (2FA)?
Two-Factor Authentication (2FA) is a security process that requires users to prove their identity in two ways: something they know (like a password) and something they have (like a phone that generates time-based codes). Even if an attacker steals the password, they can’t log in without the second factor.
The most common form is TOTP (Time-based One-Time Password). Apps like Google Authenticator, Authy, or Microsoft Authenticator generate a fresh 6-digit code every 30 seconds. Users link their app by scanning a QR code you provide, then enter those codes when prompted.
Adding Laravel two-factor authentication means your application gains the same level of protection that banks, cloud providers, and email services rely on.
2 – Prerequisites
- A fresh Laravel 12 project with authentication set up (see our Authentication in Laravel 12 (Without Fortify) guide if you don’t have login yet).
- Composer installed on your system.
- Node.js (optional if you want to compile assets, Bootstrap UI, etc.).
3 – Install Google2FA Package
We’ll use the popular antonioribeiro/google2fa-laravel package, which makes integrating TOTP-based 2FA easy in Laravel.
composer require pragmarx/google2fa-laravelCode language: JavaScript (javascript)Publish the config file:
php artisan vendor:publish --provider="PragmaRX\Google2FALaravel\ServiceProvider"Code language: JavaScript (javascript)4 – Update User Model & Database
We need to store whether a user has enabled 2FA and their secret key.
php artisan make:migration add_two_factor_columns_to_usersCode language: CSS (css)// database/migrations/xxxx_xx_xx_xxxxxx_add_two_factor_columns_to_users.php
Schema::table('users', function (Blueprint $table) {
$table->string('two_factor_secret')->nullable();
$table->boolean('two_factor_enabled')->default(false);
});Code language: PHP (php)php artisan migrateNow each user can store a unique TOTP secret and whether they’ve activated 2FA.
5 – Generating QR Codes for Users
When a user enables 2FA, generate a secret key and display a QR code they can scan with their Authenticator app.
// app/Http/Controllers/TwoFactorController.php

namespace App\Http\Controllers;

use Illuminate\Http\Request;
use PragmaRX\Google2FAQRCode\Google2FA;

class TwoFactorController extends Controller
{
    public function setup(Request $request)
    {
        $google2fa = app(Google2FA::class);

        $secret = $google2fa->generateSecretKey();
        $request->user()->update([
            'two_factor_secret' => $secret,
        ]);

        $qrCodeUrl = $google2fa->getQRCodeInline(
            'My Laravel App',
            $request->user()->email,
            $secret
        );

        return view('auth.2fa-setup', compact('qrCodeUrl'));
    }
}Code language: PHP (php)
This creates a new secret for the user and a QR code they scan with Google Authenticator. The app will then generate fresh codes every 30 seconds linked to that secret.
6 – Verifying Codes During Login
After a user enters their email and password, check if they have 2FA enabled. If so, redirect them to a form where they must input their 6-digit code.
// app/Http/Controllers/Auth/LoginController.php

public function authenticated(Request $request, $user)
{
    if ($user->two_factor_enabled) {
        Auth::logout();
        session(['2fa:user:id' => $user->id]);
        return redirect()->route('2fa.verify');
    }

    return redirect()->intended('/dashboard');
}Code language: PHP (php)
This temporarily logs the user out until they verify their code. Now we create the verification screen.
// routes/web.php
Route::get('/2fa/verify', [TwoFactorController::class, 'showVerifyForm'])->name('2fa.verify');
Route::post('/2fa/verify', [TwoFactorController::class, 'verify']);Code language: PHP (php)
In the controller:
use PragmaRX\Google2FA\Google2FA;

public function showVerifyForm()
{
    return view('auth.2fa-verify');
}

public function verify(Request $request)
{
    $request->validate(['code' => 'required|digits:6']);

    $user = User::findOrFail(session('2fa:user:id'));

    $google2fa = new Google2FA();

    if ($google2fa->verifyKey($user->two_factor_secret, $request->code)) {
        Auth::login($user);
        session()->forget('2fa:user:id');
        return redirect('/dashboard');
    }

    return back()->withErrors(['code' => 'Invalid verification code.']);
}Code language: PHP (php)
The verifyKey method checks if the 6-digit code matches the user’s secret and the current time window. If valid, the user is logged in fully.
7 – User Interface for 2FA
Here’s a simple Bootstrap-based setup page:
// resources/views/auth/2fa-setup.blade.php

@extends('layouts.app')

@section('content')
<div class="container">
  <h2>Set up Two-Factor Authentication</h2>
  <p>Scan this QR code with Google Authenticator or Authy:</p>
  <div>{!! $qrCodeUrl !!}</div>

  <p class="mt-3 text-muted">Once scanned, your app will generate 6-digit codes you’ll use to verify logins.</p>
</div>
@endsectionCode language: PHP (php)
And the verification page:
// resources/views/auth/2fa-verify.blade.php

@extends('layouts.app')

@section('content')
<div class="container">
  <h2>Two-Factor Verification</h2>
  <form method="POST" action="{{ route('2fa.verify') }}" class="card card-body">
    @csrf
    <input type="text" name="code" placeholder="Enter 6-digit code" class="form-control mb-2" required>
    @error('code') <div class="text-danger">{{ $message }}</div> @enderror
    <button class="btn btn-primary">Verify</button>
  </form>
</div>
@endsectionCode language: PHP (php)
The UI makes it clear: scan, then verify. Users see a straightforward flow, which is key to adoption.
8 – Common Issues with 2FA
- Time mismatch: If server and phone clocks differ, codes fail. Always sync server time with NTP.
- Backup codes: Offer users recovery codes in case they lose their phone.
- User experience: Clearly explain what 2FA is, how to scan the QR code, and how to use codes.
- Session handling: Remember to clear temporary session data after verification.
Wrapping Up
You’ve now implemented Two-Factor Authentication in Laravel 12. We covered what 2FA is, why it matters, how to generate QR codes, and how to verify login codes securely. With this feature, your app gains an extra shield against password theft and unauthorized access.
For related improvements, see our Laravel authentication guide and our validation rules tutorial. Together with 2FA, these give your app strong, modern security foundations.
Next Steps
Now that you’ve added basic Two-Factor Authentication in Laravel 12, you can take security and usability further with these improvements:
- Recovery Codes: Provide backup codes so users can log in if they lose access to their phone.
- SMS or Email 2FA: Extend 2FA to also allow one-time codes sent via text message or email.
- Device Remembering: Let trusted devices skip 2FA for a set number of days, improving UX.
- Fortify or Breeze Integration: If you use Laravel Fortify or Breeze, integrate 2FA into their authentication scaffolding.
- Admin Enforcement: Add a setting to require 2FA for all admin users or high-privilege roles.
- User Education: Include tooltips or short guides in your UI explaining what 2FA is and why it’s important.
These additions help create a robust, production-ready Laravel 12 authentication system with 2FA, ensuring both strong security and a smooth user experience.


0 Comments